
HypeDragController
A self-contained, physics-agnostic drag-and-drop controller for Tumult Hype with data-attribute-based configuration and callback support.
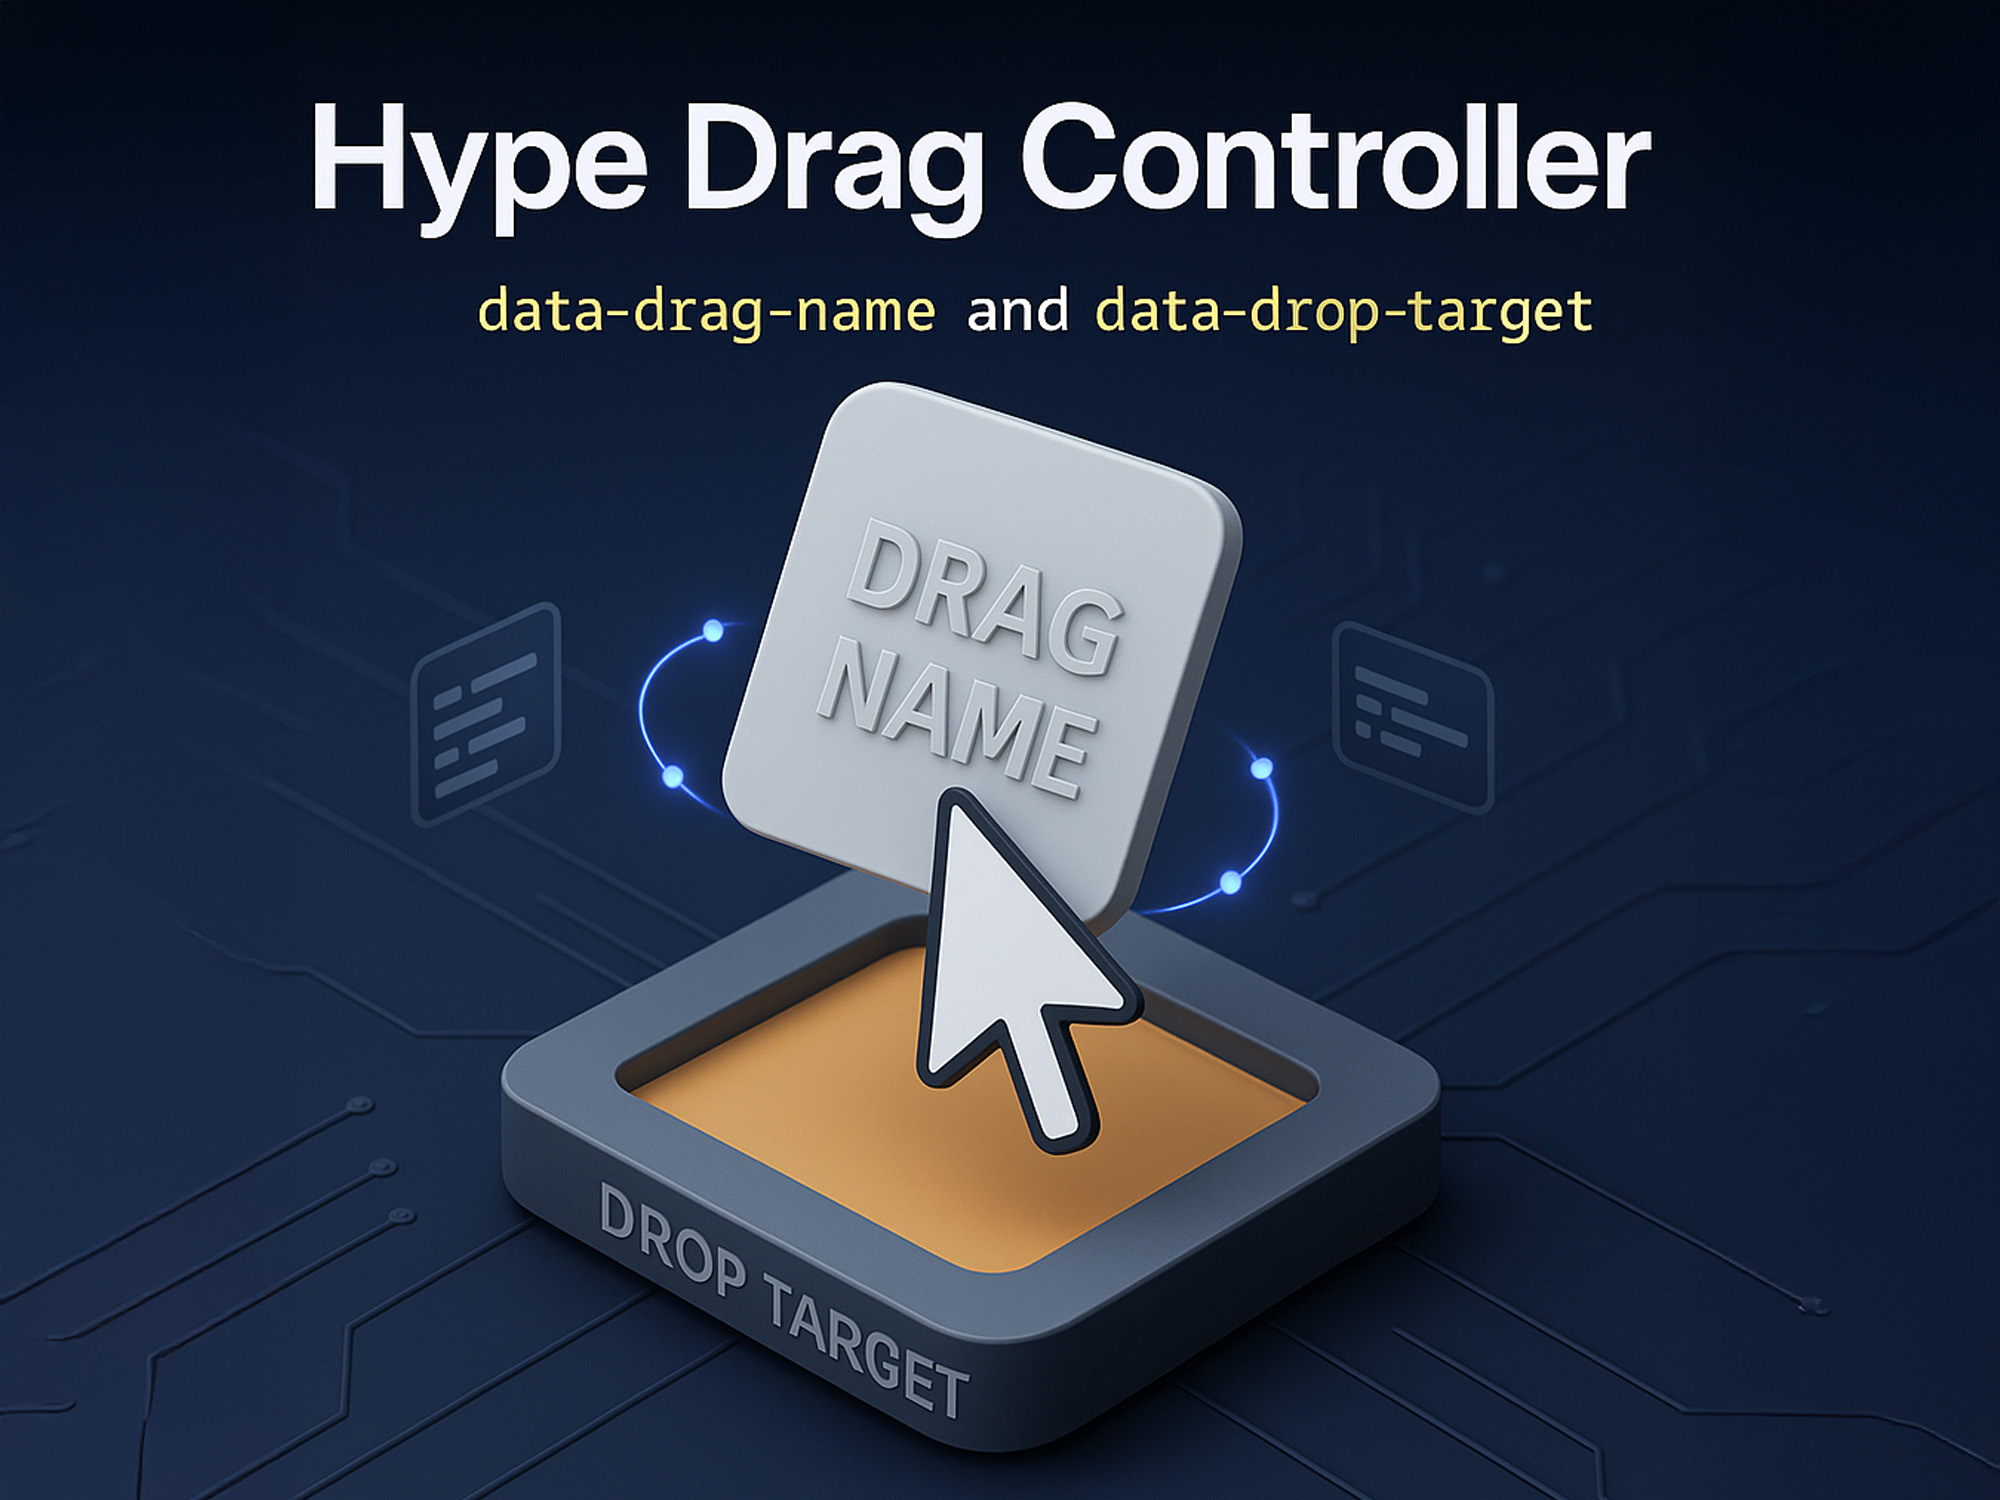
Hype Drag Controller
A self-contained, physics-agnostic drag-and-drop controller for Tumult Hype. Provides a clean, namespaced API with data-attribute-based target detection and callback support for creating interactive drag-and-drop experiences.
Content Delivery Network (CDN)
Latest version can be linked into your project using the following in the head section of your project:
<script src="https://cdn.jsdelivr.net/gh/worldoptimizer/HypeDragController/HypeDragController.min.js"></script>
Optionally you can also link a SRI version or specific releases. Read more about that on the JsDelivr (CDN) page for this extension at https://www.jsdelivr.com/package/gh/worldoptimizer/HypeDragController
Learn how to use the latest extension version and how to combine extensions into one file at https://github.com/worldoptimizer/HypeCookBook/wiki/Including-external-files-and-Hype-extensions
Features
- Self-contained: No external dependencies beyond Tumult Hype
- Data-attribute driven: Uses
data-drag-nameanddata-drop-targetattributes for clean, reusable configuration - Callback support:
onStart,onProgress, andonDropcallbacks for custom interaction logic - Smart drop detection: Automatically finds the drop target with the largest overlap area
- Element locking: Lock/unlock draggable elements to control interaction states
- Snap animations: Built-in snap-back and snap-to animations with customizable timing
- Multi-document support: Works with multiple Hype documents on the same page
- Drag constraints: Boundary, axis, and within-region restrictions with automatic data-attribute loading
- Auto snap: Automatically snap elements to their constraints when scenes load
- Event metrics: Callbacks receive factor/midpoint/percent for axis-normalized values
Installation
- Download
HypeDragController.jsfrom this repository. - Add the script to your Tumult Hype project's Resources folder.
- The controller will automatically initialize when your Hype document loads.
Quick Start
1. Set up your Hype elements (in the Identity Inspector)
Add data attributes to your Hype elements under "Additional HTML Attributes":
Drag element
data-drag-name="card1"
Drop target
data-drop-target="slot1"
2. Configure the drag event
In Tumult Hype, select your draggable element and add an On Drag action in the Actions Inspector:
- Action: Run JavaScript...
- Function: New Function...
- Name the function
dragHandlerand paste the following code:
// element - The DOM element that triggered this function
// event - The event that triggered this function
function dragHandler(hypeDocument, element, event) {
  hypeDocument.drag.handler(element, event);
}
Apply this same dragHandler function to all your draggable elements.
3. Set up interaction logic
Add this to your scene's On Scene Load action:
hypeDocument.drag.setInteractionMap({
    'card1': {
        onDrop: function(hypeDocument, element, event) {
            // The drop target element is now found inside the event object
            const dropTarget = event.dropTarget;

            if (dropTarget && dropTarget.dataset.dropTarget === 'slot1') {
                // Successful drop - snap to target
                hypeDocument.drag.snapTo(element, dropTarget);
            } else {
                // Failed drop - snap back to original position
                hypeDocument.drag.snapBack(element);
            }
        }
    }
});
API Reference
hypeDocument.drag.handler(element, event)
The main drag event handler. Assign this to your element's On Drag action.
hypeDocument.drag.setInteractionMap(map)
Define interaction behaviors for your draggable elements. The onDrop callback now receives the event object as its third parameter, which contains the dropTarget.
hypeDocument.drag.setInteractionMap({
    'dragName': {
        onStart: function(hypeDocument, element, event) { /* ... */ },
        onProgress: function(hypeDocument, element, event) { /* ... */ },
        onDrop: function(hypeDocument, element, event) {
            const dropTarget = event.dropTarget;
            /* ... */
        }
    }
});
Event Metrics in Callbacks
During onStart, onProgress, and onDrop, the event object is augmented with convenient, precomputed metrics derived from the element's effective drag bounds:
// event additions (per axis)
event.factorX, event.factorY     // 0..1|null   // normalized within bounds
event.midpointX, event.midpointY // -1..1|null  // centered around midpoint
event.percentX, event.percentY   // 0..100|null // percentage form
Field reference:
| Field | Range | Meaning |
|---|---|---|
factorX |
0..1 | 0 at minX, 1 at maxX |
factorY |
0..1 | 0 at minY, 1 at maxY |
midpointX |
-1..1 | -1 at minX, 0 at midpoint, 1 at maxX |
midpointY |
-1..1 | -1 at minY, 0 at midpoint, 1 at maxY |
percentX |
0..100 | factorX * 100 |
percentY |
0..100 | factorY * 100 |
How bounds are determined:
- If explicit
minX/maxXorminY/maxYare set via constraints, those are used. - Otherwise, if
withinis set (e.g.,'parent'or a selector), the usable travel inside that container is used (container size minus element size). - If no meaningful bounds can be determined for an axis, the values for that axis are
null.
Axis-locked behavior:
- When
axis: 'x', only X changes; Y metrics may still be provided if bounds exist but will remain stable as you drag. - When
axis: 'y', only Y changes; X metrics behave analogously.
Performance:
- Metrics are computed in O(1) per drag frame and are negligible for single-element drags.
Examples:
// Drive opacity with horizontal Factor (0..1)
hypeDocument.drag.setInteractionMap({
  sliderX: {
    onStart: function (hypeDocument, element, event) {
      // Initialize based on current position
      const t = event.factorX ?? 0;
      hypeDocument.setElementProperty(element, 'opacity', 0.3 + 0.7 * t);
    },
    onProgress: function (hypeDocument, element, event) {
      const t = event.factorX ?? 0;
      hypeDocument.setElementProperty(element, 'opacity', 0.3 + 0.7 * t);
    }
  }
});

// Map joystick position to a signed range (-1..1) using Midpoint
hypeDocument.drag.setInteractionMap({
  joystick: {
    onProgress: function (hypeDocument, element, event) {
      const cx = event.midpointX ?? 0; // -1..1
      const cy = event.midpointY ?? 0; // -1..1
      // Example: rotate by horizontal deflection
      hypeDocument.setElementProperty(element, 'rotateZ', cx * 30);
    },
    onDrop: function (hypeDocument, element, event) {
      // Snap to the right if dropped with > 90% along X
      if ((event.percentX ?? 0) > 90) {
        hypeDocument.drag.snapTo(element, '.rightStop');
      }
    }
  }
});
hypeDocument.drag.snapBack(element)
Animate an element back to its initial position using the default snap-back animation settings.
hypeDocument.drag.snapTo(element, destination)
Snap an element to a destination element or a selector string.
// Snap to an element object
hypeDocument.drag.snapTo(draggedElement, targetElement);

// Snap to a selector
hypeDocument.drag.snapTo(draggedElement, '[data-drop-target="slot1"]');
hypeDocument.drag.autoSnap(element)
Snap an element to its constraints from its current position without requiring a drag operation. Useful for initial positioning or manual constraint enforcement.
// Snap element to its constraints
hypeDocument.drag.autoSnap(element);
hypeDocument.drag.lock(element) / unlock(element)
Disable or enable pointer events on an element, effectively preventing or allowing it to be dragged.
hypeDocument.drag.lock(element);    // Disable dragging
hypeDocument.drag.unlock(element);  // Enable dragging
hypeDocument.drag.setConstraints(elements, constraints)
Set drag constraints for one or multiple draggable elements. Constraints limit where elements can be moved during dragging.
// Single element or drag name
hypeDocument.drag.setConstraints('card1', {
    minX: 100, maxX: 500, axis: 'x'
});

// Multiple elements with parent bounds
hypeDocument.drag.setConstraints(['card1', 'card2', 'card3'], {
    within: 'parent'
});

// Multiple elements with class selector bounds
hypeDocument.drag.setConstraints(['card1', 'card2', 'card3'], {
    within: '.gameArea'
});

// Mixed array of elements and strings
hypeDocument.drag.setConstraints([card1Element, 'card2', 'card3'], {
    minY: 200, maxY: 400
});
Constraint Options
| Option | Type | Description |
|---|---|---|
minX |
number | Minimum X position allowed (top-left corner). |
maxX |
number | Maximum X position allowed (top-left corner). |
minY |
number | Minimum Y position allowed (top-left corner). |
maxY |
number | Maximum Y position allowed (top-left corner). |
axis |
string | Restrict movement to 'x' or 'y' axis only. |
within |
string | CSS selector (e.g., '.gameArea') or 'parent' to restrict movement within. |
hypeDocument.drag.resetState(sceneElement)
Reset all drag-related state for a scene, including drag locks, cached positions, and interaction maps. This is useful for cleaning up after a scene's interactions are complete or when restarting a scene.
// Reset current scene
hypeDocument.drag.resetState();

// Reset specific scene element
hypeDocument.drag.resetState(sceneElement);
What gets reset:
- All drag locks are removed (elements become draggable again)
- Cached initial position data attributes are cleared
- Interaction maps are cleared
- Custom gameState data is cleared (if
hypeDocument.customDataexists)
Drag Constraints Guide
Drag constraints provide fine-grained control over where draggable elements can be moved.
Basic Constraint Types
Boundary Constraints
Limit dragging to a specific rectangular area:
hypeDocument.drag.setConstraints('card1', {
    minX: 100, maxX: 600,
    minY: 50, maxY: 350
});
Container Containment
Keep elements within containers:
// Stay within parent container (finds closest Hype element)
hypeDocument.drag.setConstraints('card1', {
    within: 'parent'
});

// Stay within specific container by selector
hypeDocument.drag.setConstraints('card1', {
    within: '.gameArea'
});
Axis Constraints
Restrict movement to horizontal or vertical only:
// Horizontal movement only
hypeDocument.drag.setConstraints('slider', {
    axis: 'x'
});

// Vertical movement only
hypeDocument.drag.setConstraints('scrollbar', {
    axis: 'y'
});
Using Data Attributes in Hype
Define constraints directly on elements using Hype's Identity Inspector:
For boundary constraints:
- Select your element in Hype
- Open Identity Inspector → Attributes
- Add these attributes:
data-drag-name:card1data-drag-min-x:100data-drag-max-x:600data-drag-min-y:50data-drag-max-y:350
For axis constraints:
- Select your element in Hype
- Open Identity Inspector → Attributes
- Add these attributes:
data-drag-name:slider1data-drag-axis:x
For parent within:
- Select your element in Hype
- Open Identity Inspector → Attributes
- Add these attributes:
data-drag-name:card1data-drag-within:parent
For class selector within:
- Select your element in Hype
- Open Identity Inspector → Attributes
- Add these attributes:
data-drag-name:card1data-drag-within:.gameArea
Batch Operations
Apply the same constraints to multiple elements:
// Multiple elements with same constraints
hypeDocument.drag.setConstraints(['card1', 'card2', 'card3'], {
    minX: 50, maxX: 550,
    minY: 100, maxY: 350
});

// Different constraint groups
hypeDocument.drag.setConstraints(['slider1', 'slider2'], {
    axis: 'x'
});
Combining with Interaction Maps
hypeDocument.drag.setInteractionMap({
    'card1': {
        correctTarget: 'slot1',
        onDrop: function(hypeDocument, element, event) {
            const dropTarget = event.dropTarget;
            if (dropTarget && dropTarget.dataset.dropTarget === this.correctTarget) {
                // Successful drop - snap to target and lock
                hypeDocument.drag.snapTo(element, dropTarget);
                hypeDocument.drag.lock(element);
            } else {
                // Failed drop - snap back to original position
                hypeDocument.drag.snapBack(element);
            }
        }
    },
    'freeCard': {
        onDrop: function(hypeDocument, element, event) {
            // This element doesn't snap back - it stays where dropped
            const dropTarget = event.dropTarget;
            if (dropTarget) {
                hypeDocument.drag.snapTo(element, dropTarget);
                hypeDocument.drag.lock(element);
            }
            // No snapBack call = element stays in dropped position
        }
    }
});

// Set constraints for the same element
hypeDocument.drag.setConstraints('card1', {
    within: 'parent'
});
Auto Snap Guide
Auto snap automatically positions elements to respect their constraints when a scene loads. This is useful for ensuring elements start within their allowed boundaries.
Global Configuration
Enable auto snap for all constrained elements:
// Enable globally - all constrained elements will snap on scene load
HypeDragController.setDefault({
    autoSnap: true
});
Per-Element Configuration
Enable auto snap for specific elements using data attributes:
Hype Setup:
- Select your draggable element in Hype
- Open Identity Inspector → Attributes
- Add these attributes:
data-drag-name:card1data-drag-min-x:100data-drag-max-x:500data-drag-min-y:200data-drag-max-y:400data-drag-auto-snap:true
(alias:data-drag-autosnap)
Manual Control
Snap elements to constraints at any time:
// Snap a specific element to its constraints
hypeDocument.drag.autoSnap(element);
Configuration
Customize default animation settings by calling this function once, for example in a global script or on first scene load.
HypeDragController.setDefault({
    bringToFront: true,           // Bring dragged elements to front
    snapBackDuration: 0.4,        // Snap back animation duration
    snapBackTiming: 'easeinout',  // Snap back timing function
    snapToDuration: 0.3,          // Snap to target duration
    snapToTiming: 'easeout',      // Snap to target timing function
    resetOnSceneUnload: false,    // Reset drag state on scene unload
    autoSnap: false               // Automatically snap elements to constraints when scene loads
});
Data Attributes
| Attribute | Required | Description |
|---|---|---|
data-drag-name |
Yes | Unique identifier for draggable elements. |
data-drop-target |
No | Identifies elements as drop targets. |
data-drag-auto-snap |
No | Enable auto snap for this element (overrides global setting). |
Setting Drag Constraints in Hype
You can define drag constraints directly on elements using Hype's Identity Inspector → Attributes panel. These are automatically loaded when each scene is prepared for display.
In the Attributes panel of the Identity Inspector, add these attributes to your draggable elements:
| Attribute Name | Attribute Value | Description |
|---|---|---|
data-drag-name |
card1 |
Unique identifier for the draggable element (required). |
data-drag-min-x |
100 |
Minimum X position allowed (top-left corner). |
data-drag-max-x |
500 |
Maximum X position allowed (top-left corner). |
data-drag-min-y |
100 |
Minimum Y position allowed (top-left corner). |
data-drag-max-y |
400 |
Maximum Y position allowed (top-left corner). |
data-drag-axis |
x or y |
Restrict movement to 'x' or 'y' axis only. |
data-drag-within |
.gameArea or parent |
CSS selector or 'parent' to restrict movement within. |
data-drag-auto-snap |
true or false |
Enable auto snap for this element (overrides global setting). |
Example Setup:
- Select your draggable element in Hype
- Open the Identity Inspector
- Go to the Attributes panel
- Add the constraint attributes as shown in the table above
Scene-Specific Data (gameState)
The controller provides a simple hypeDocument.customData.gameState object. This is a convenient place to store data related to the current scene's state, such as a score or the number of matched items.
Please note that this gameState is automatically cleared when the scene changes (on HypeSceneUnload). This design is intentional for self-contained, single-scene interactions. For data that needs to persist across multiple scenes, you should manage your own global data structures.
Complete Scene Example: Card Matching Game
This example shows how to set up a drag-and-drop game using shared handler functions for clean, reusable code. The goal is to match multiple cards to their correct slots and then trigger a "win" timeline.
Hype Setup:
- Two draggable elements:
data-drag-name="cardA"anddata-drag-name="cardB" - Two drop targets:
data-drop-target="slotA"anddata-drop-target="slotB" - A Hype timeline named
WinTimeline
Step 1: Create the Drag Handler Function
In Hype, create a single JavaScript function named dragHandler and assign it to the On Drag action of both cardA and cardB.
// Function: dragHandler
function dragHandler(hypeDocument, element, event) {
  hypeDocument.drag.handler(element, event);
}
Step 2: Add the Scene Logic
Select the Scene and add this script to its On Scene Load action.
// -- GAME SETUP --
hypeDocument.customData.gameState = {
    matched: 0,
    neededToWin: 2
};

function checkWinCondition(hypeDocument) {
    if (hypeDocument.customData.gameState.matched >= hypeDocument.customData.gameState.neededToWin) {
        hypeDocument.startTimelineNamed('WinTimeline', hypeDocument.kDirectionForward);
    }
}

// -- SHARED HANDLER FUNCTIONS --

// A shared function to apply visual feedback when a drag starts.
function handleDragStart(hypeDocument, element, event) {
    hypeDocument.setElementProperty(element, 'scaleX', 1.1, 0.2, 'easeout');
    hypeDocument.setElementProperty(element, 'scaleY', 1.1, 0.2, 'easeout');
}

// A shared function to handle all drop logic.
// 'this' refers to the interaction map object for the element being dropped.
function handleCardDrop(hypeDocument, element, event) {
    // First, reset the visual feedback from onStart.
    hypeDocument.setElementProperty(element, 'scaleX', 1.0, 0.3, 'easein');
    hypeDocument.setElementProperty(element, 'scaleY', 1.0, 0.3, 'easein');

    const dropTarget = event.dropTarget;
    // 'this.correctTarget' is a custom property we define in the map below.
    if (dropTarget && dropTarget.dataset.dropTarget === this.correctTarget) {
        // SUCCESS
        hypeDocument.drag.snapTo(element, dropTarget);
        hypeDocument.drag.lock(element);
        hypeDocument.customData.gameState.matched++;
        checkWinCondition(hypeDocument);
    } else {
        // FAIL
        hypeDocument.drag.snapBack(element);
    }
}

// -- DRAG CONSTRAINTS --
// Set up parent containment for all cards (stays within their immediate containers)
hypeDocument.drag.setConstraints(['cardA', 'cardB'], {
    containment: 'parent'
});

// -- INTERACTION MAP --
// Assign the shared handlers to multiple elements.
hypeDocument.drag.setInteractionMap({
    'cardA': {
        correctTarget: 'slotA', // Custom property for this card's logic
        onStart: handleDragStart,
        onDrop: handleCardDrop
    },
    'cardB': {
        correctTarget: 'slotB', // Custom property for this card's logic
        onStart: handleDragStart,
        onDrop: handleCardDrop
    }
});
Advanced Technique: Snapping to an Alternate Position
Sometimes you want the drop area to be larger than the element's final resting place. This technique uses an invisible element as a precise snap point within a larger drop zone.
Hype Setup:
- A draggable element:
data-drag-name="card1" - A large, visible drop target:
data-drop-target="holder1" - A small, invisible element to mark the final position. Give it a Class Name of
holder1-snapin the Identity Inspector.
On Scene Load Script:
We add a custom snapToSelector property to our interaction map to tell the onDrop function where to snap the element.
// Optional: Set constraints for the draggable element
hypeDocument.drag.setConstraints('card1', {
    within: 'parent'  // Stays within immediate container
});

// Or use selector bounds:
// hypeDocument.drag.setConstraints('card1', {
//     within: '.gameArea'
// });

hypeDocument.drag.setInteractionMap({

    'card1': {
        correctTarget: 'holder1',
        snapToSelector: '.holder1-snap', // Use the class name as a CSS selector

        onDrop: function(hypeDocument, draggedElement, event) {
            const targetElement = event.dropTarget;

            // Check if it was dropped on the correct target area
            if (targetElement && targetElement.dataset.dropTarget === this.correctTarget) {

                // Snap to our custom selector instead of the drop target itself
                hypeDocument.drag.snapTo(draggedElement, this.snapToSelector);
                hypeDocument.drag.lock(draggedElement);

            } else {
                hypeDocument.drag.snapBack(draggedElement);
            }
        }
    }
});
License
MIT License - see the LICENSE file for details.
Made with ❤️ for the Tumult Hype community.